Fluted Media Console
Built around the room, the equipment, and everything the client needed to hide
"The room couldn't fit a standard-depth console. Going shallower meant losing storage — so we made it taller instead. Every internal dimension was dictated by the client's actual equipment: a specific speaker, gaming systems that need airflow, and a preference to see as little of that equipment as possible."
Some projects come with a clear brief and a CAD model. This one came with a room that didn’t fit standard furniture, a list of specific equipment, and a client who knew what they wanted to see — and what they didn’t.
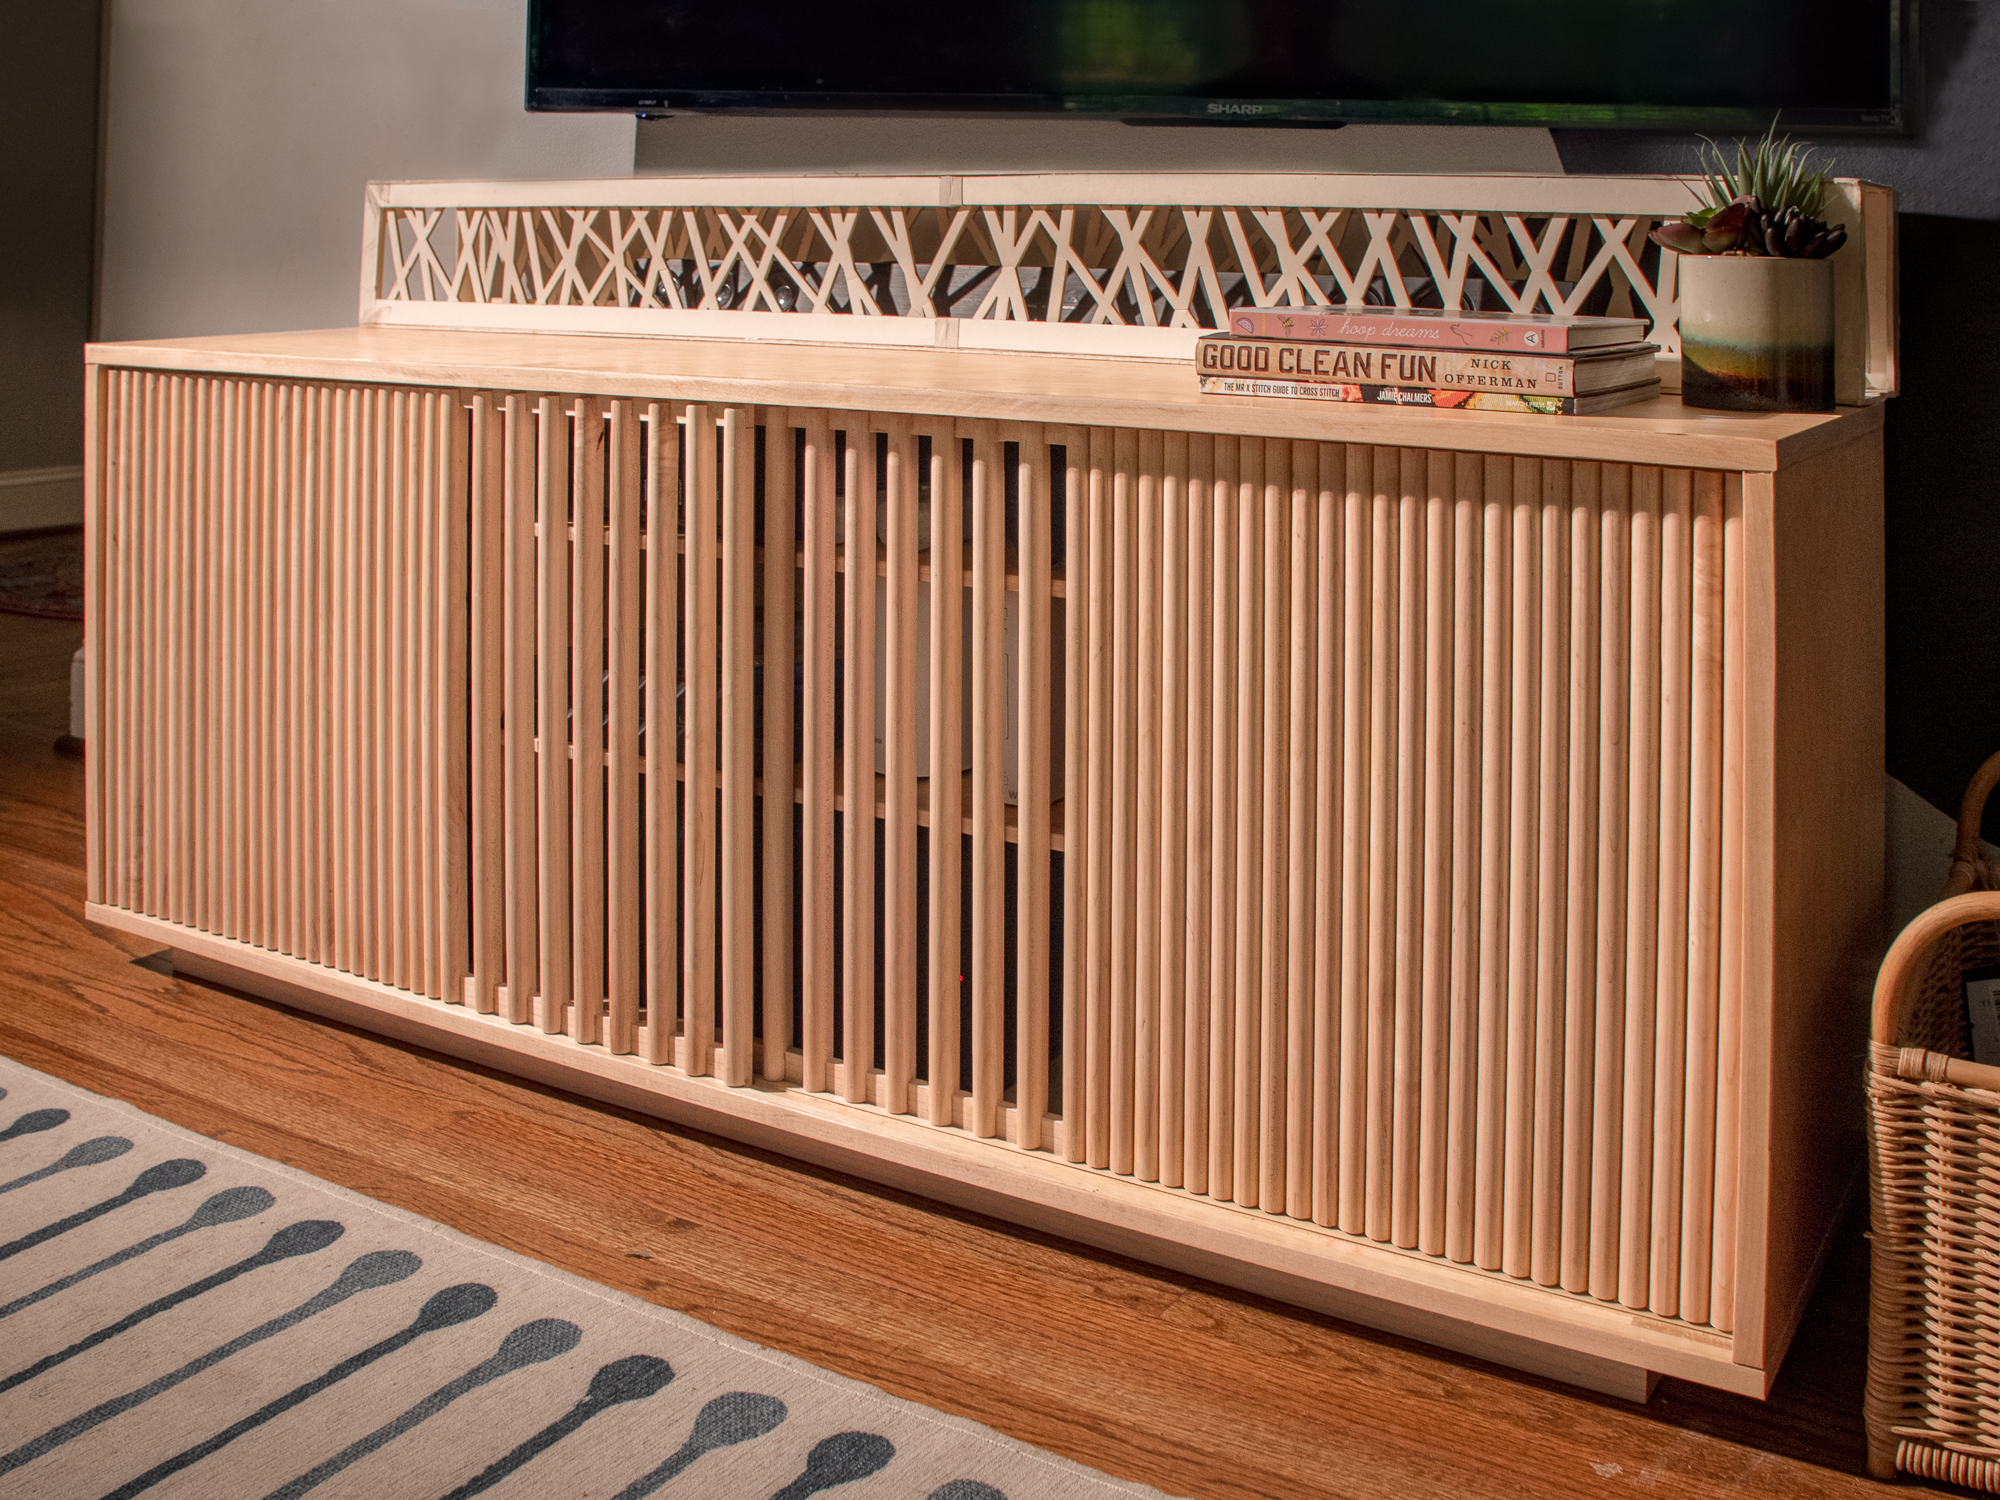
The room couldn’t accommodate a console of normal depth. Rather than fight the space, we went shallower and added height to recover the storage. That one decision changed every other dimension in the piece.
Designing Around the Equipment
Before drawing anything, I inventoried what needed to live inside the console: a specific speaker, a couple of gaming systems, and the usual tangle of cables and accessories that comes with a full entertainment setup.
The gaming systems drove two requirements that pulled in opposite directions. They needed enclosed space — the client didn’t want to see them — but they also needed airflow or they’d overheat. The speaker had the same tension: it needed to be somewhat concealed, but sound has to go somewhere.
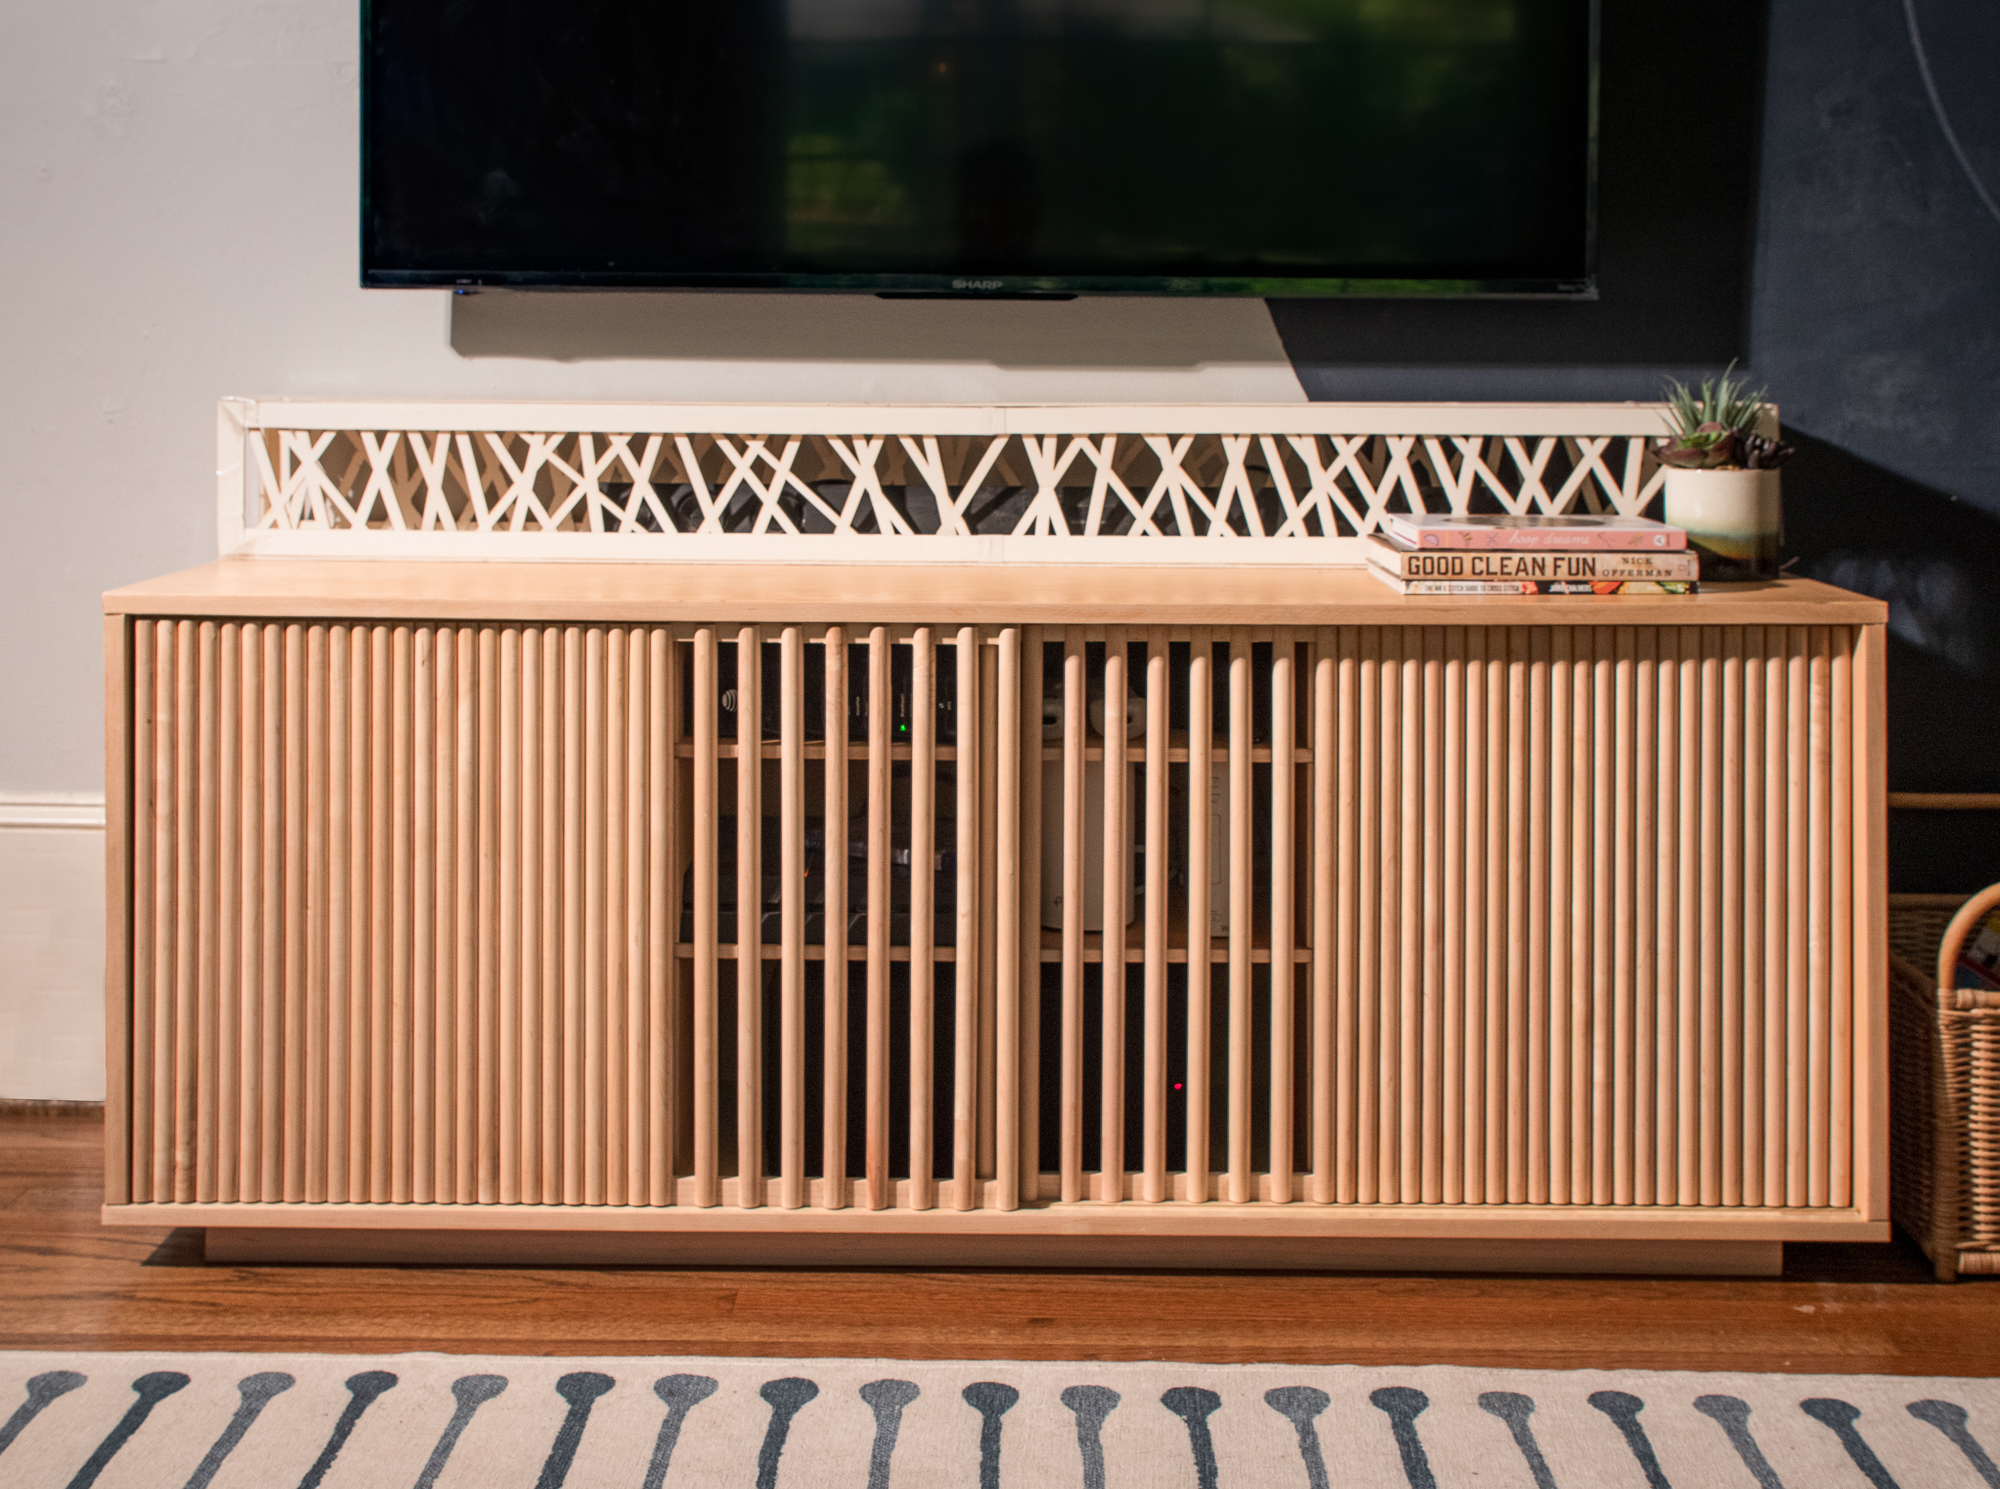
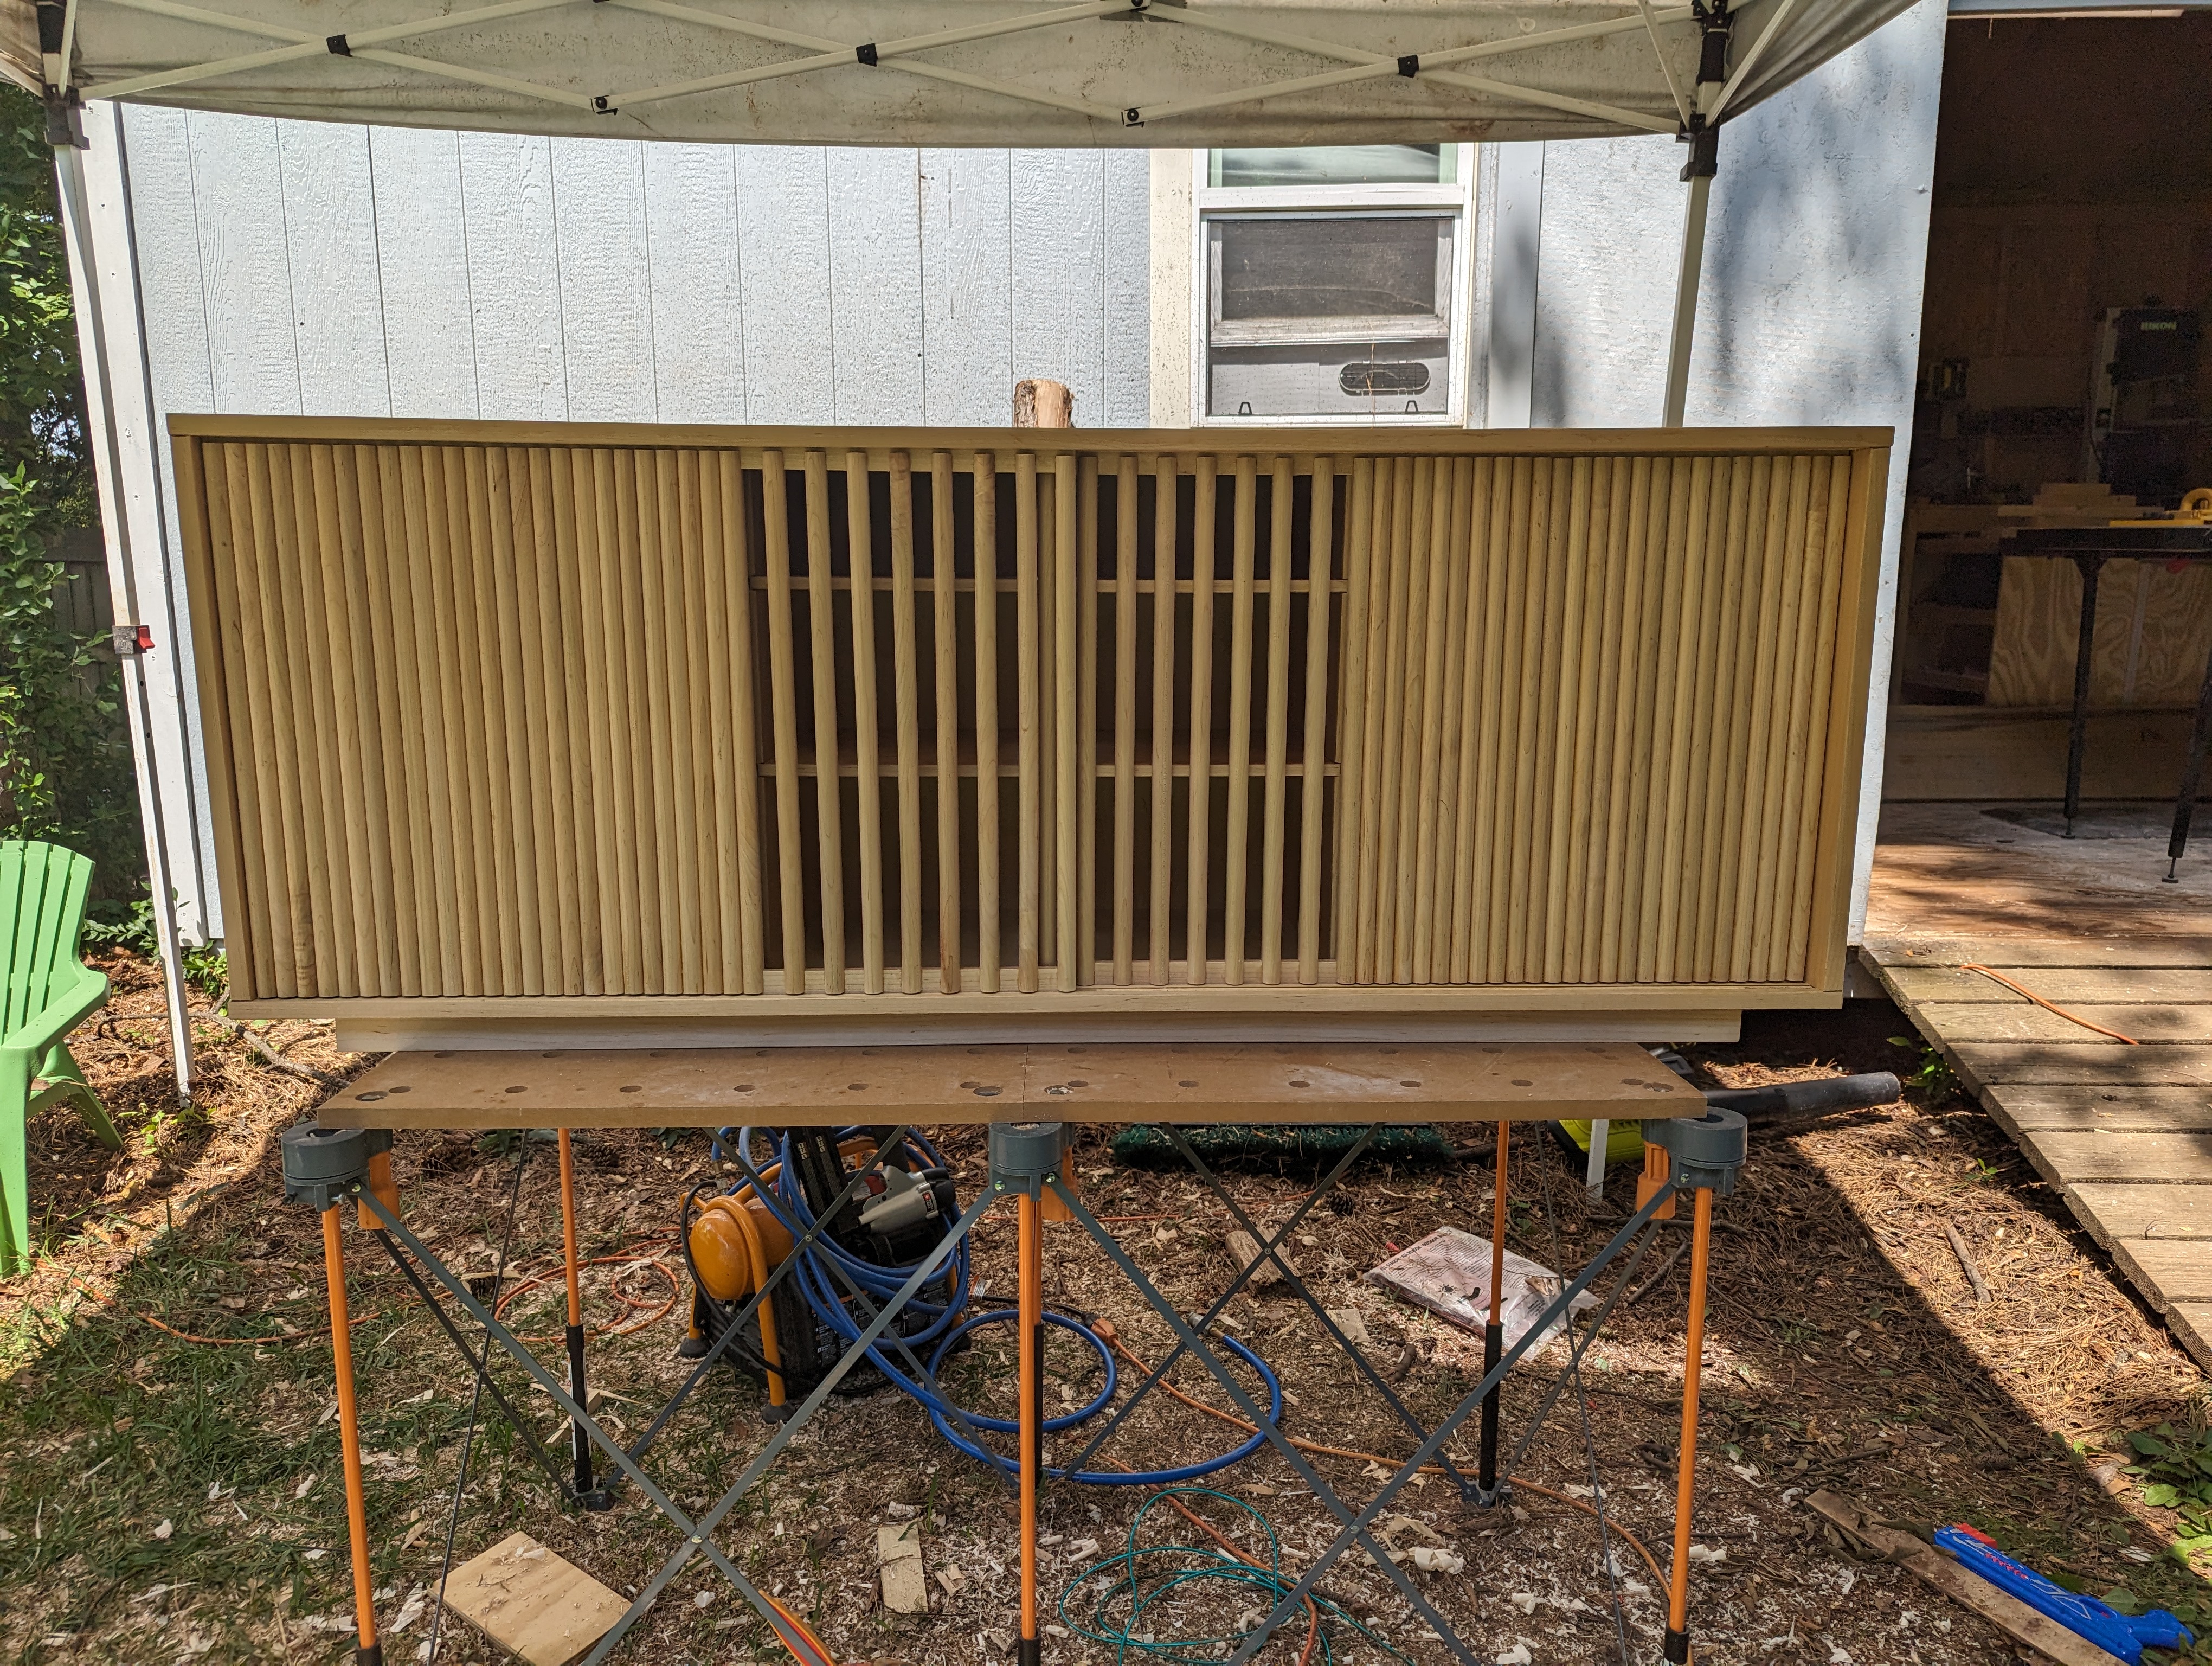
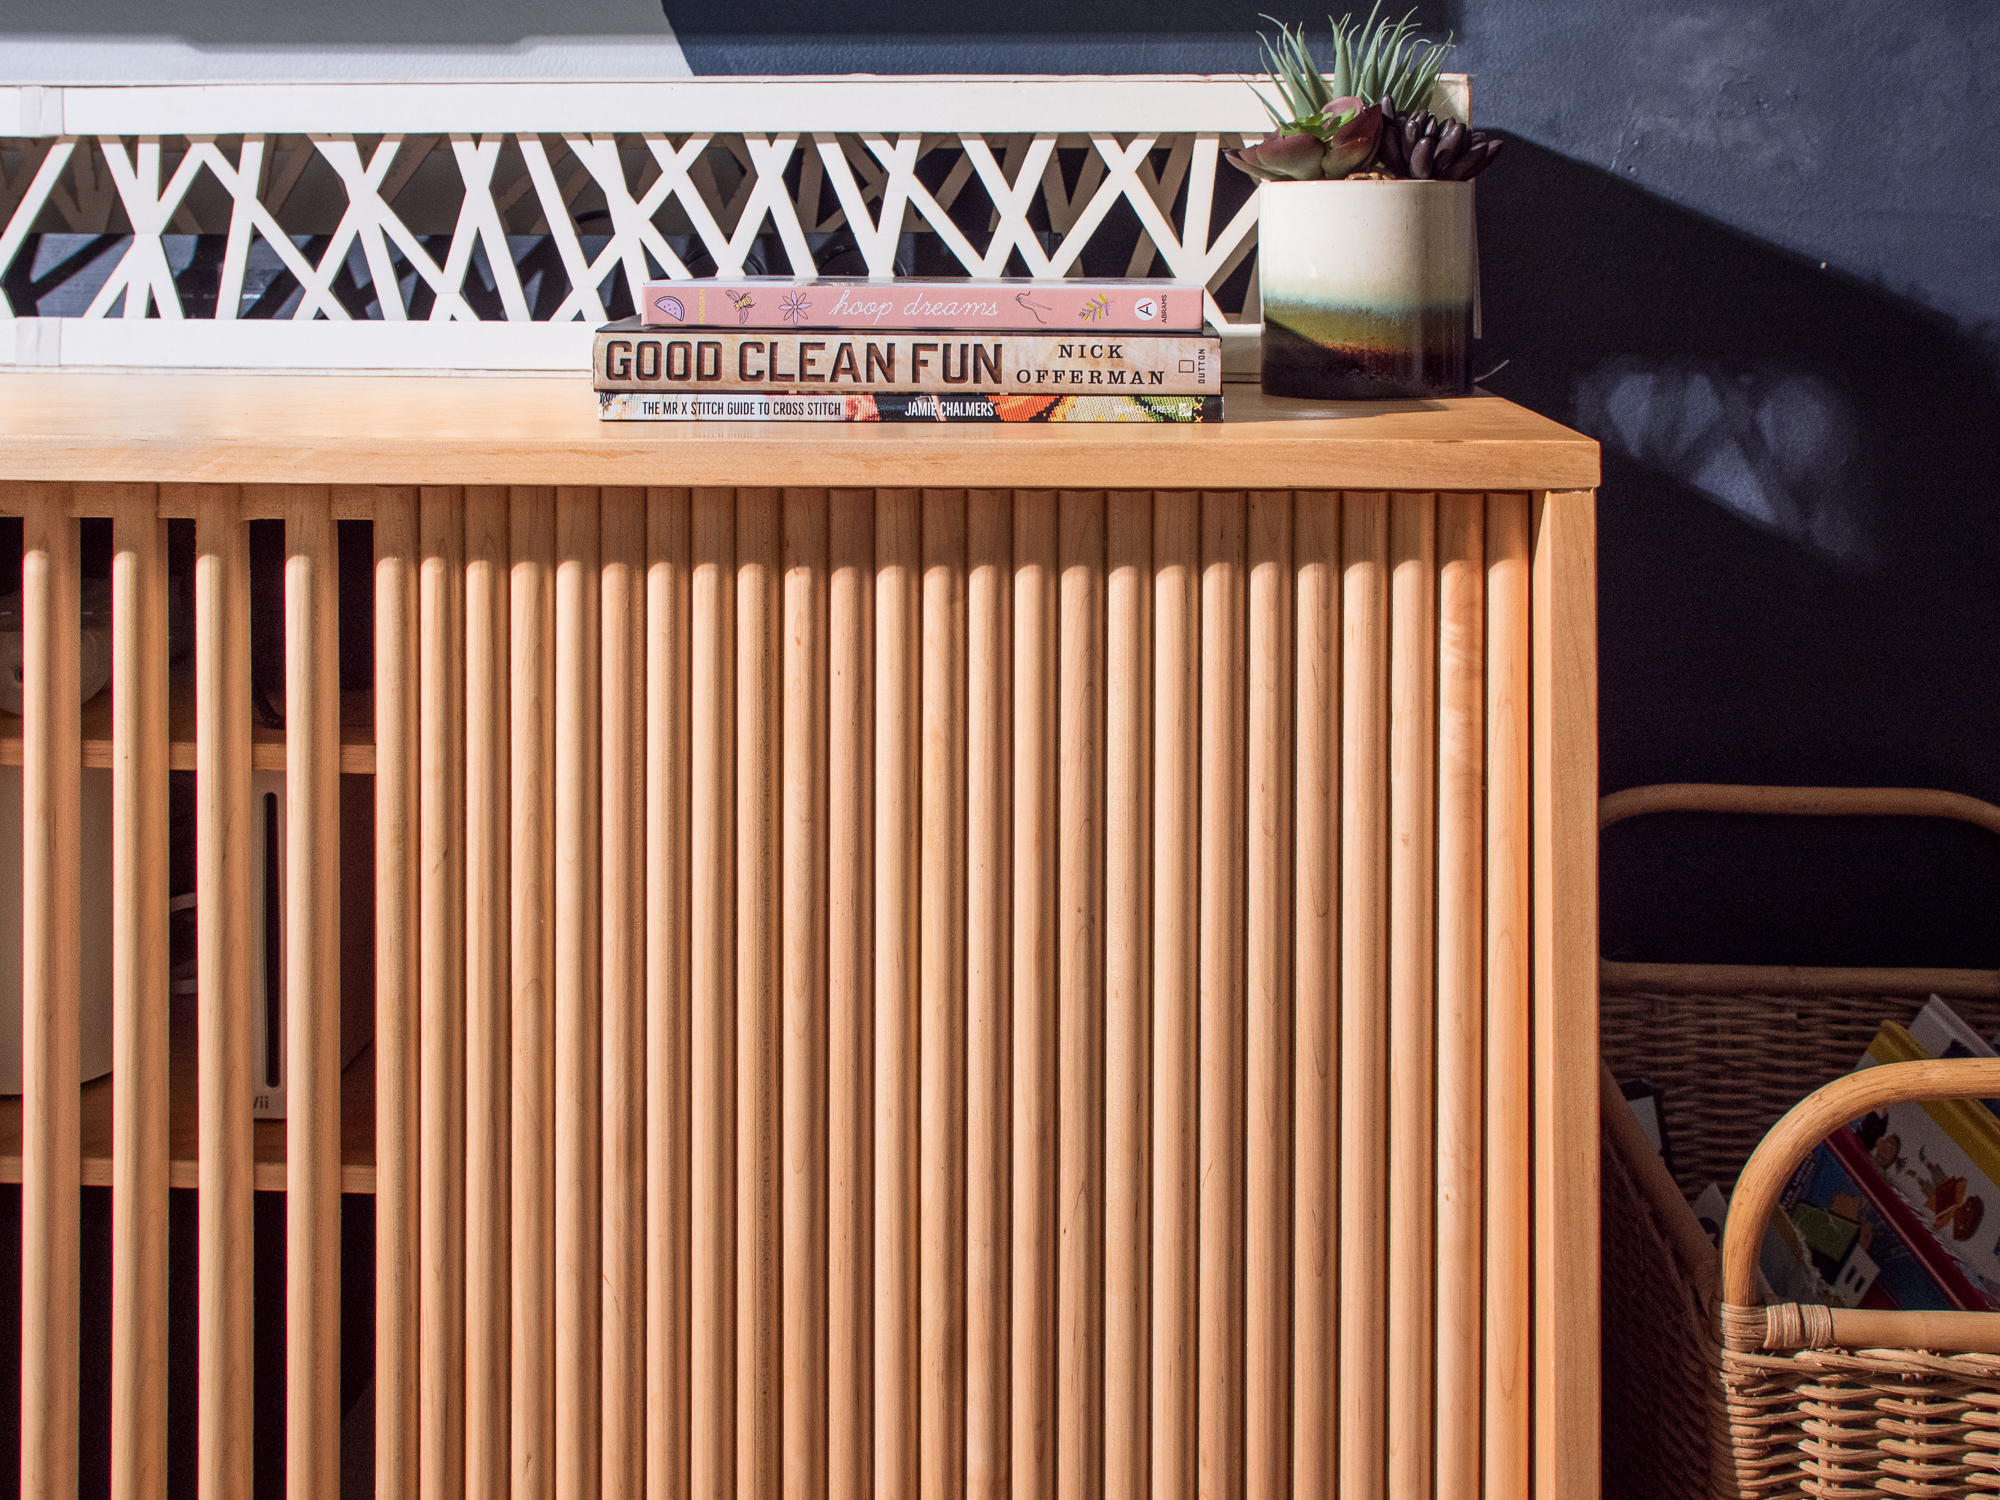
The answer was a three-section layout. Left and right bays get sliding doors — fully closed, completely hidden. The center section stays open but gets a decorative screen detail that makes the functional gap look like a design choice rather than an afterthought.
The Sliding Doors
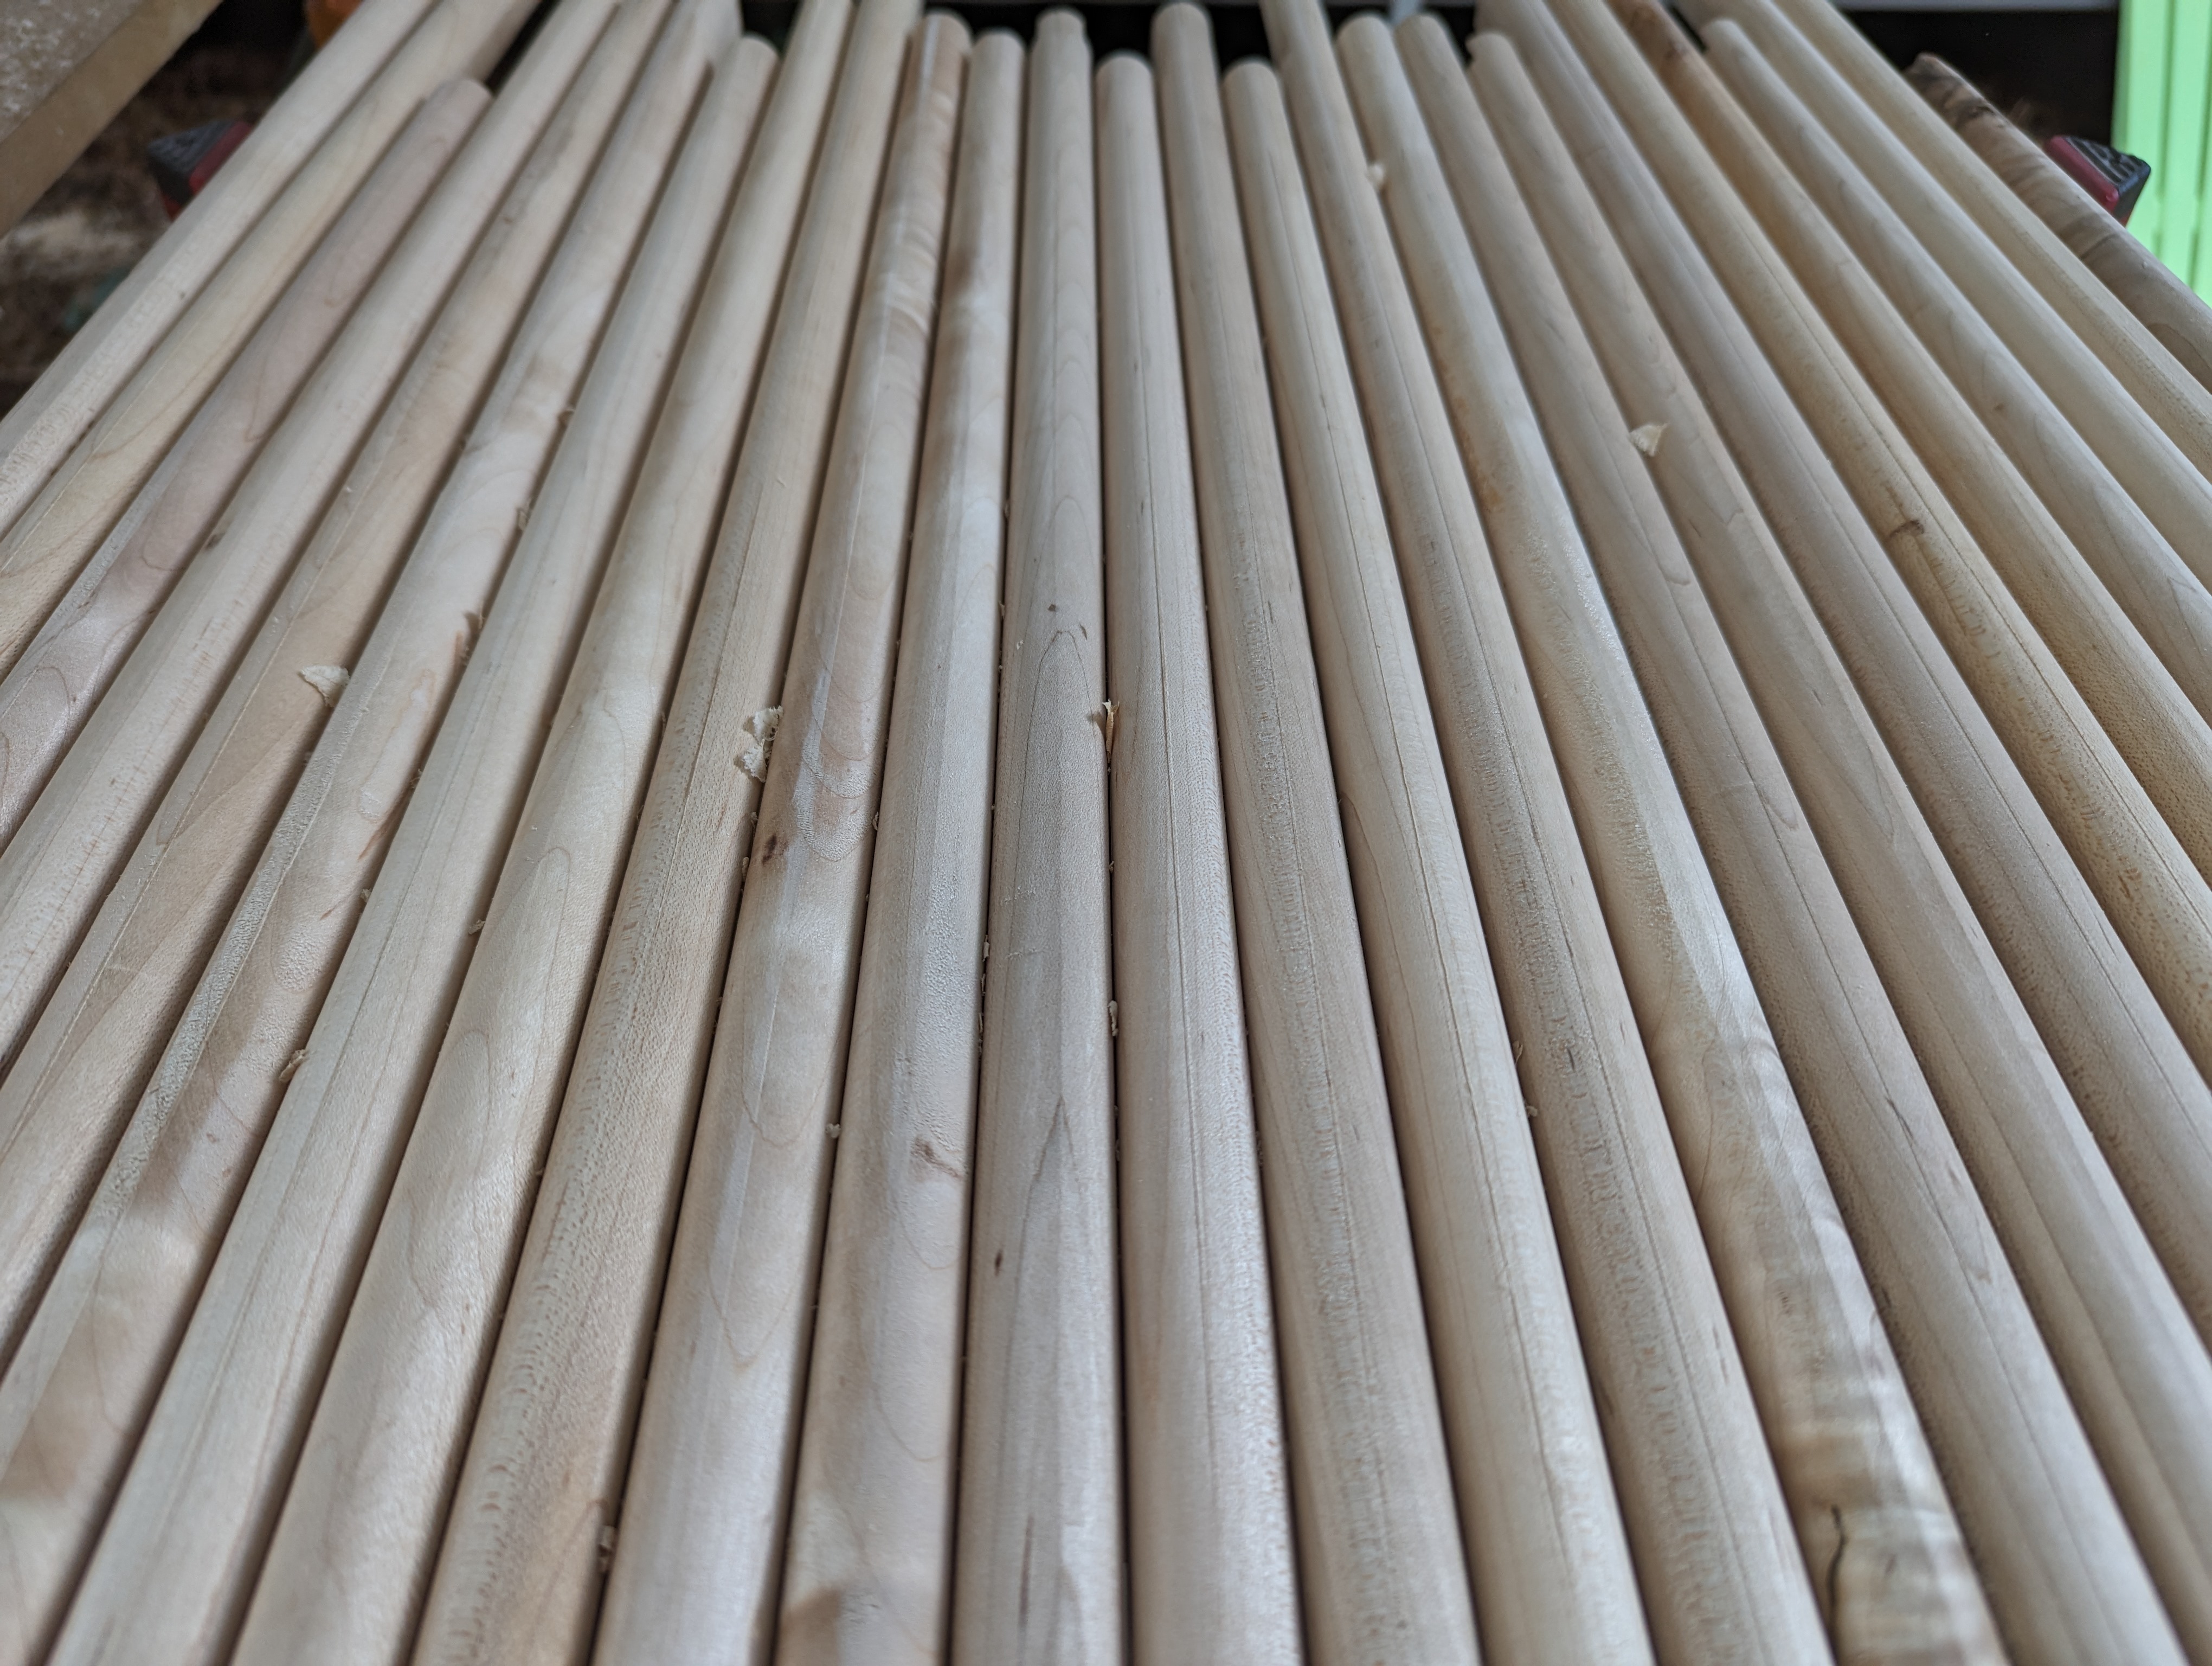
The client specified two things upfront: texture on the front, and sliding doors. Fluting was the natural answer — it reads as texture at a distance and resolves to something precise up close. The sliding door mechanism needed to clear the shallower-than-standard depth, which took some fitting work to get right.
Building to the Room
This project was more build-as-you-go than some others. The constraints were dimensional — specific heights, specific widths, specific clearances for specific objects — rather than being driven by a 3D model. Once the overall case dimensions were set, every internal detail was fitted to what actually needed to live there.
The result is a piece that couldn’t exist as a catalog item. It’s exactly the right size for that room, that wall, and that equipment. Nothing standard about it.
- Built to the room's actual constraints — shallower depth, taller case — rather than forcing standard furniture into a space that didn't fit it
- Internal shelf spacing measured around the client's specific equipment before a single cut was made
- Open center section handles both the speaker's acoustic needs and the gaming systems' heat dissipation
- Fluted sliding doors conceal the sides completely — cables, equipment, and clutter disappear
- Decorative screen detail on the center opening makes a functional gap look intentional
- Consistent fluting language ties this piece to other custom work in the home